

Previous Story
3 Great DIY Scarf Organizer Ideas: Fall and Winter Fashion
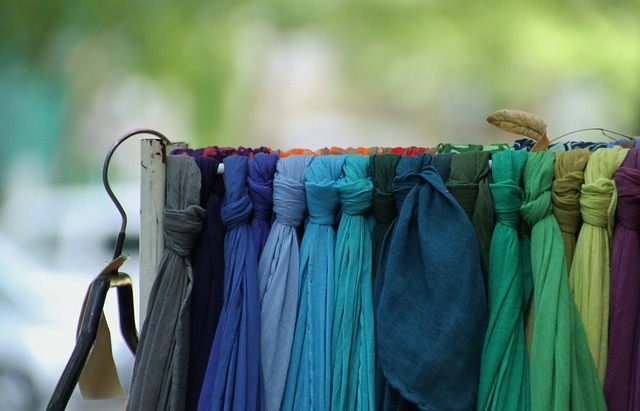
Are you a scarf holder? Do you have tons of scarves, many of which you never actually wear? Are they all over the place? If you don’t like throwing stuff away, then you have to think of a way to organise your belongings. For example, you can use a scarf organizer.
A scarf organiser becomes necessary when you have more scarves than clothes. Or when there is no more room in your wardrobe for your accessories. Or when you have problems finding the scarf you need.
But no worries. With our scarf organiser ideas by Promp Gardeners Northfields you will never be annoyed again when it comes to storing scarves. You’ll even free some room for other stuff. We offer you a few easy, simple and cost-effective DIY solutions. Take a look.
DIY Scarf Organiser Option 1
This DIY scarf organiser is very easy to make. It takes a few minutes and a couple of tools and materials.
Things you’ll need:
- Clean hooks (6 or more)
- Hanger 1×6
- Hammer or drill
- Nails
Buy hooks from the shop. You can add old shower curtain rings as well.
Directions:
Start by fixing the hanger to the wall. Drive in the nails or screws using a hammer or a drill. Then hang the rings. You can place a scarf in each ring. Alternatively, you can hang your scarves onto the hooks without using the rings. This is how you can make your scarves more organised and easy to see.
DIY Scarf Organiser Option 2
Things you’ll need:
- Clear curtain rings or hooks
- Curtain rod
The materials are very affordable; the rod being a little below $10 and the hooks/rings approximately $2. Buy as many packs as you need (you have to take on the laborious task to count just how many scarves you have.)
Directions:
Mount the hardware for the rod on the wall and make sure you get it even. Use a leveling tool to check that both ends are at the same length. If you don’t have a leveling tool, use a measuring tape and a pen. Now place the curtain rod on the hardware.
The advantage of using a curtain rod is that it can expand. This means that you can have more space for your scarf collection as it grows bigger and bigger. It’s time to put the shower rings. Just grab one and place it around the rod, then close. Repeat the procedure for all rings. Then add your scarves. There you are!
DIY Scarf Organiser Option 3
Things you’ll need:
- Wire hangers
- Round glass/candle
- Glue
- Old T-shirt
- Adhesive tape
Directions:
Start out by cutting the hooks of the hangers off. Mould the hanger around a glass or candle. It doesn’t matter the object you’re using as long as it is round and steady. You need to make a ring. When you are done, use some tape to fix both ends together. Make as many rings as you need using the same procedure every time.
Now tape all the rings together. Take one of the hooks you cut off and tape it at the top. To add some beauty to the rings, wrap them with an old T-shirt. Before you do, add some glue to the rings so that the fabric can stick well. Let the glue dry.
Next step is, hang the organiser where you want and add your scarves. How do you like it?
Now when you clean the house, your scarves will not be scattered everywhere, making the cleaning process tougher than it is.